
Hand Embroidered Valentine Bookmarks
/Hello Everyone!!! I’m Abby over at A Feathered Nest blog which is kind of a collection of hobbies I like or attempt. I’m a mom with 4 kids - boy, girl, boy, girl, and a husband. I wish I had a puppy so bad. My baby girl is an animal so she will suffice for now. We live in Michigan {the most beautiful place on earth} but we’re getting ready to move back home to Sunny Arizona! I’m SO excited that Heather would ask me to put together a project for all of you. We’re going to do a Valentine project but not that kind of Valentine project. Let’s veer from the standard Valentine gifts and do something unique for our good friends & loved ones. Who out there doesn't love a good book?! Even kids’ books. They’re amazing. Don’t you love it when you find a good book and you’re sad when you finish? Wouldn't it be fun to give a good book to someone you love this Valentine’s Day?! With an adorable hand-made bookmark?! Even better. {add some chocolate to the gift and I’d say that would be the best Valentine gift EVER.} I’ll take a good book {and chocolate} over flowers any day.
Hand Embroidered Valentine Bookmarks
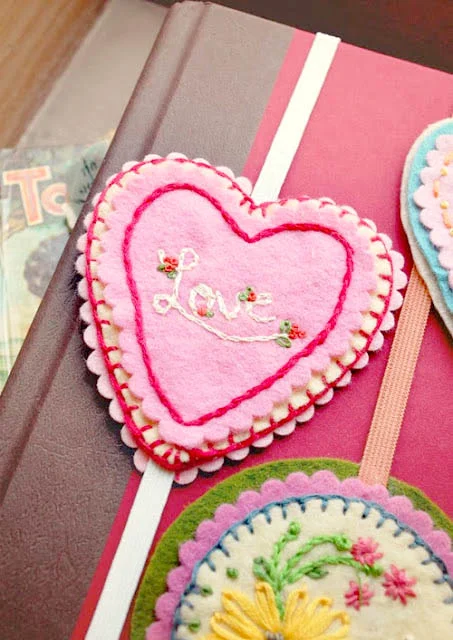
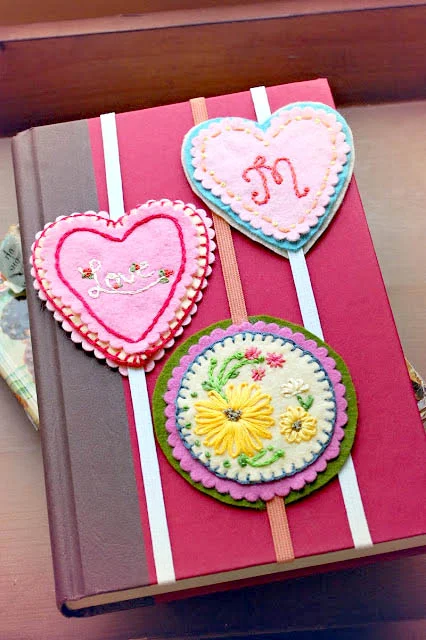
Aren’t they precious? How fun to use the bookmark as the actual gift tag wrap it around a gift card or if you buy a book wrap it around the wrapping paper.
Supplies:
Felt, cut in varying circles or shapes (I have a scallop pair of scissors)
DMC floss, needle, scissors
Fabric marker- mine has a disappearing ink side
Fabric glue
Elastic (you can dye your elastic any color you want using RIT dye - just boil hot water, add a few drops of dye, boil for a few minutes, rinse with cold water. Bleach your pot before using it for cooking.)
This is a perfect project for those of you who are beginners to embroidery. If you need a practice guide, here is a handy-dandy Stitch Guide I put together a long time ago. This post also has some stitching help, another great Valentine project. I’m missing a few stitches on my site but if you google searched the following stitch names you’ll find more than enough help on how to do them.
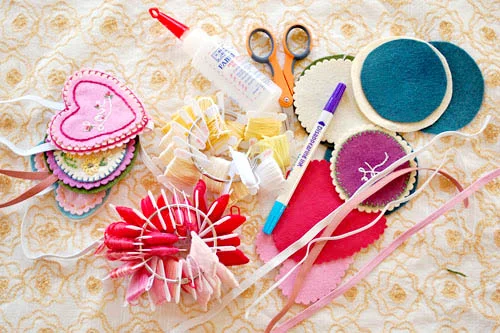
Cut your shapes - I used 3-ply together, but stitched on 2-ply.
Trace/draw your design. The circles should be small, so you don’t need a whole lot on them - keep it simple. I free-handed everything so I don’t have patterns, but you can look at these and figure it out. They’re not very complex.
Embroider your design. Here are the stitches I used: Lazy Daisy
- French Knot
- Split Stitch
- Running Stitch
- Blanket stitch
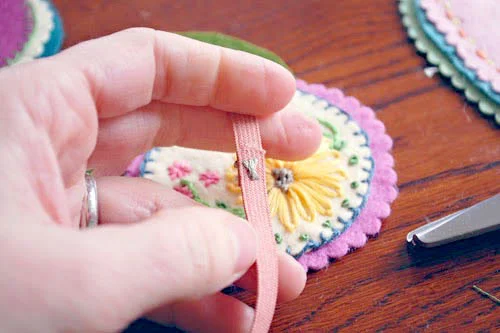
Secure your elastic in a loop/circle, using glue or thread - make sure it’s straight. Nothing but the best from you.
Glue your front to the back.
Done! Now go make a whole bunch of these and you have plenty of time until Valentine’s Day! Wahoo!! These will also make great end-of-year teacher gifts too get a head start and be the admiration of the PTO moms. You’re amazing.
More Valentine’s Day Crafts

DIY Valentine Sewing Card Craft - Valentine’s Day Cards